Overview
LogiExport® is a brilliant and easy excel export solution to Qlik sense.
- Save time on Excel labor – the file is exported exactly as you like it.
- Fast single click exports.
- Human error-proof – fully automated process.
- Simple extension implementation – one zip file (no client or server installation).
- Use your existing file as a template.
- Distribution ready file – no macros and security issues.
- Data context included – embed your selections, variables, etc. in the file.
Download for free now: logiexport.logsys.co.il
Find out more useful tips in our Blog
Getting Started
Get LogiExport
Go to logiexport.logsys.co.il and download the free trial.
Install on Qlik Cloud
See instrctions here
Install on Qlik Enterprise
- Open Qlik Management Console.
- Select Extensions on the QMC start page or from the Start drop-down menu.
- Click Import.
- Click Choose File and select .zip file.
- Click Open in the File Explorer window.
- Click Import.
- Refresh the Qliksense page, and you will now see the LogiExport under your Custom Objects -> Extensions.
Install LogiExport – Watch Video >
Features
File Settings
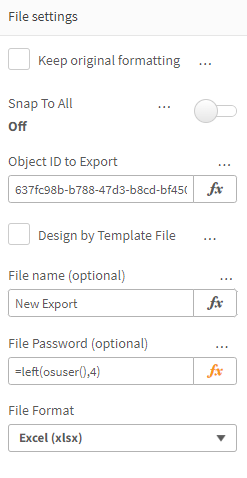
Keep Original Formatting
Export the table or the pivot table with the font color, the background color, and Link columns as defined in the table Visualization.
Keep Original Formatting – Watch video >
Snap to All
Add a convenient export icon to every dashboard object, enabling one-click downloads of Excel files, complete with the original formatting and color scheme. Customize this functionality for specific object types to suit your needs.
Object ID to Export
The ID of the Table or Pivot Table to be exported.
Please note, LogiExport works best with tables and Pivots, in other visualization types, it will export the data table behind the visualization, which you can also fully customize.
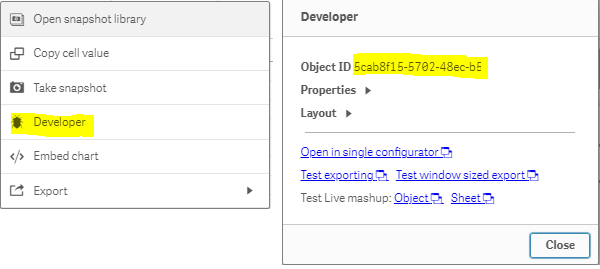
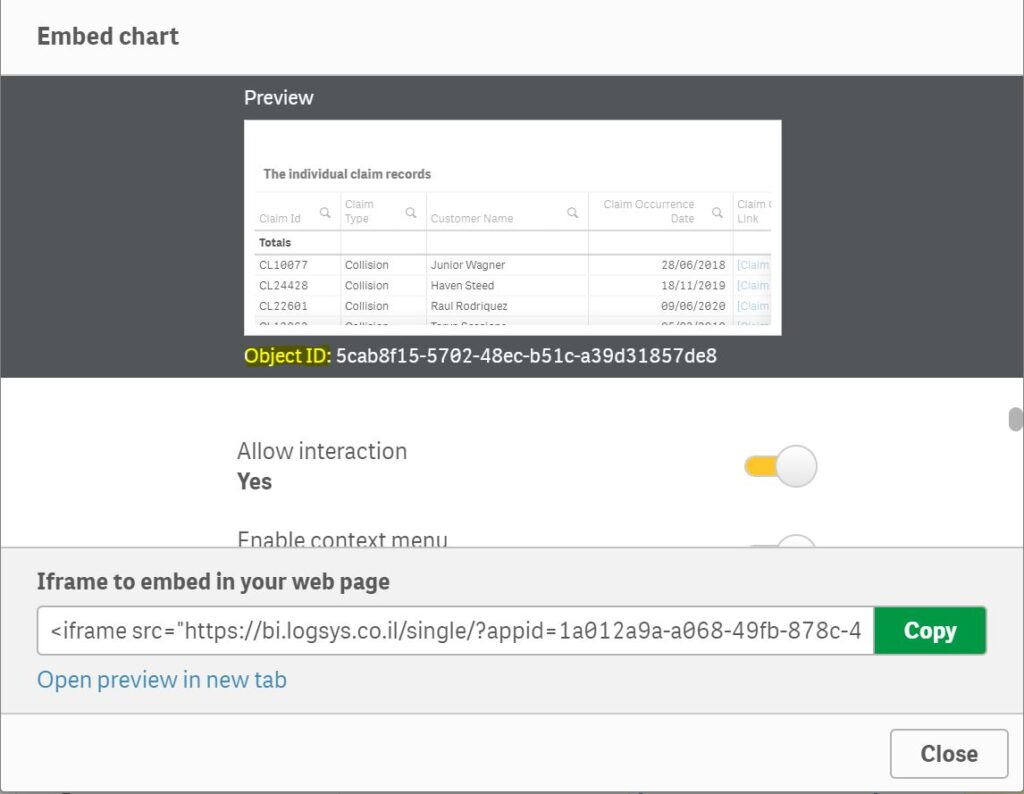
you can find the Object’s ID in two different ways:
- Add “/options/developer” at the end of the current browser address and hit Enter, right-click on the object -> developer, the Object ID will be the first value in the pop up:
- Leave Edit mode and right-click on the object -> (Share) -> embed -> the object ID is below the preview image.
Export Single object: Watch Video >
Design by template file (Pro version)
Allows the user to upload an Xlsx file to be the template for future exports, this procedure is done once, and the file will be used in all the future exports. Can be any Xlsx file.
The Template file is uploaded to your “App Content” library.
Using Template File with LogiExport – Watch Video >
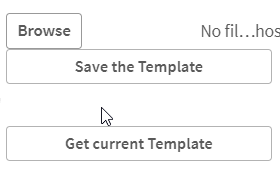
Browse
Browse for the template Xlsx file. Please clear the file from any actual data. Please see more in the dedicated section:
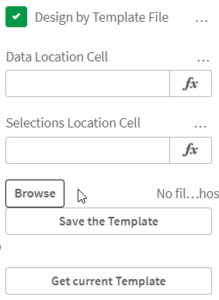
Save the template
Upload the Xlsx file to be used as a template to the future exports, the template file will be associated with the specific LogiExport button, a popup will appear when done.
The template is stored in the App Content library.
Get current template
Downloads the current Xlsx template associated with this button.
Data location cell
The excel address within the template file to insert the exported data, the Sheet and Cell (for example DataSheet!A2).
Selection location cell
The excel address within the template file to insert the selection details (for example DataSheet!A2).
File Format
You can choose the format of the exported file
- XLSX – which is Default.
- CSV Comma seperator.
- CSV Tab Separator.
In CSV export, all design options are disabled, the cycle and multi objects export can be still splitted to Files.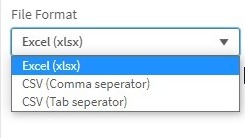
File name
The file name of the Xlsx file excluding the extension.
example =’Claims Report As Of ‘ & Today().
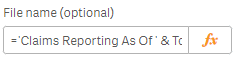
Watch Video>
File Password Protection
You can now secure your excel file with a password. Choose from setting a fixed password, dynamically generating one via a formula, or empowering users to set their own password through the API. This added layer of security ensures your data remains confidential and secure.
Button Settings
Button Label
The label of the export button.
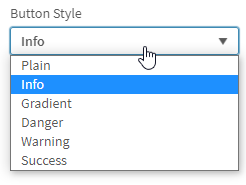
Button Style
Set the button Style.
Snap to Visualization
Hides the default button, and create small excel button on the right upper corner of the table/vizualization defined in “Object ID to Export” property.
if you want to snap the button to other visualization, use “Snap To Visualization Id ” property
Please note: for this feature to work properly on Qlik Cloud, make sure to open the Content Security Policy, see here.
![]()
Snap To Visualization Id
you can manually override the specific visualization to snap to. Mandatory – if multiple object defined.
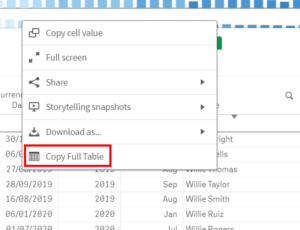
Enable ‘Copy Full Table’ Context Menu (This feature is temporarily unavailable)
Adds a ‘Copy Full Table’ to every object, which copies all the data to the Clipboard.
Hide the Button
Hide the LogiExport button using an expression.
Return 0 to hide the button.
Change Button CSS
Change the button design using Css,
for example =’.logiExportBtn {background:red;}’
Please note: the css should be defined once in a sheet and it applies for all of the button in the same sheet.
Multiple Objects And Cycle Export
Export multiple Objects
Export Multiple Visualizations (split to Sheets or Files) Watch Video >
Sets the location in the template where the Selections will be inserted, Use a Valid Excel Address, for Example ‘Sheet1!A2’.
Export the same visualization broken down by the possible values in the field, You can split it into Sheets or Files.
Milliseconds to wait between cycle selections, you may need to adjust the timing to the performance of the model.
Sheet formatting
Controls the format and structure of the exported Excel Sheet.
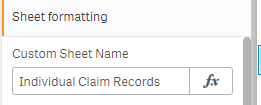
Custom Sheet Name
The name of the sheet in the exported Xlsx file.
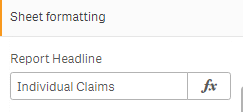
Report headline
Inserts a headline in an additional line at the top of the Sheet.
Right to left
Change the Sheet Direction to Right-to-Left.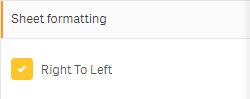
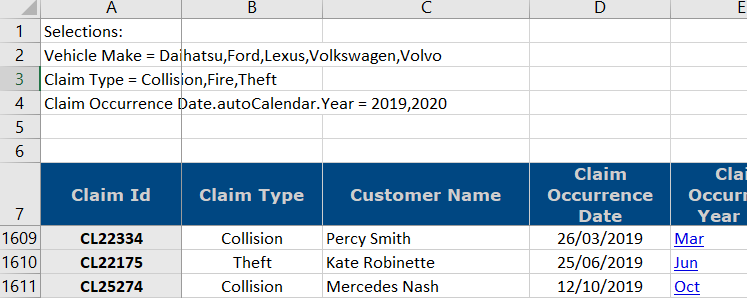
Add selection context to file
Inserts the Current Selection details in an additional line(s) at the top of the Sheet.
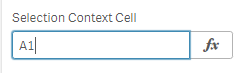
Selections context cell (optional)
Custom locating the Selection context data within the sheet, if empty it will be automatically located as described above.
Selections context label (optional)
Inserts a header in an additional line on the top of the selections.
example: =’Selections :’.
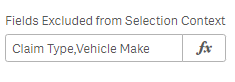
Fields excluded from selection context
Exclude Specific Fields from the Selections Export (System Fields etc.). The value is the names of the fields, comma-separated.
Tip: use the following expression to exclude all hidden fields selections:
=Concat({<$Field={“$(HidePrefix)*”}>} $Field,’,’)
Add totals row
Add the table’s totals row on the bottom of the sheet.
Totals on Top
Gain more control over your data displays with the Totals on Top feature. A simple selection places the totals row at the top of your exported table, making data analysis more intuitive and accessible.
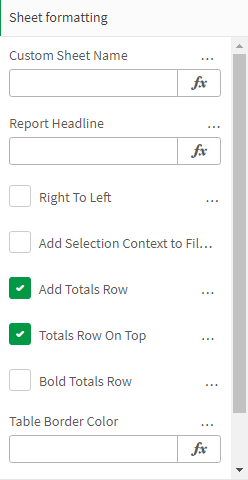
Bold totals row
Make total row font Bold.

Table border-color
Set the table borders color in hex.
example: =’ff0000′.
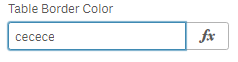
Table border style
Set the table borders style.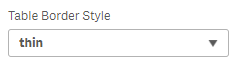
Column header formatting
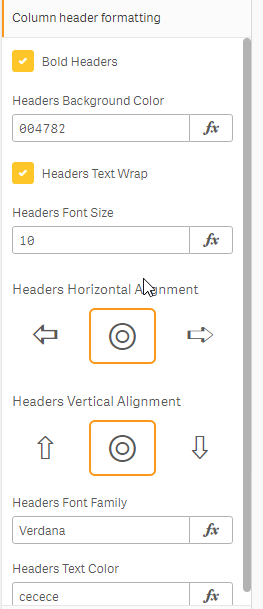
Bold Headers
Make the table headers bold.
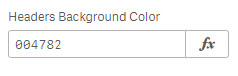
Headers background-color
Set the table headers background color in hex.
example: =’ff0000′.

Headers text wrap
Set the table headers wrap text to On.
![]()
Headers font size
Set the table headers font size.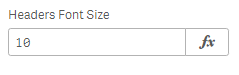
Headers horizontal alignment
Set the table headers text horizontal alignment.
Headers vertical alignment
Set the table headers text vertical alignment.
Headers font family
Set the table headers, font family.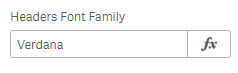
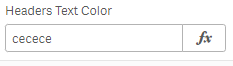
Headers text color
Set the table headers text color in hex.
example ff0000)
Column formatting
Column Options
Add one column options element for every field you want to custom format, the rest of the fields will keep the regular format.
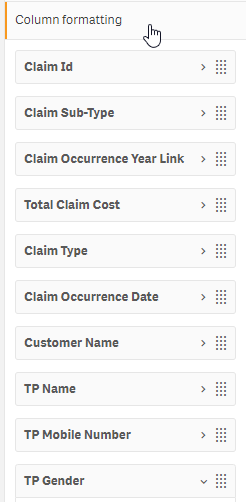
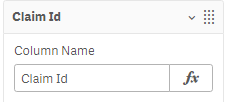
Column name
The column name to be custom formatted, as it is in the field label in the source table.
Drop column
Remove the column from the exported file.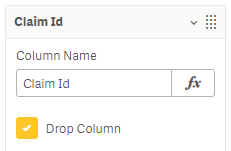
Hide column
Hide the column in the exported file.
![]()
Is hyperlink
Display column data as a link.

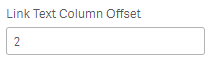
Link text column offset
Set the column for the link text.
For example, 2 means: take the hyperlink text from the 2 columns forward from the hyperlink column.

Column horizontal alignment
Column text horizontal alignment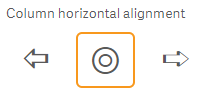
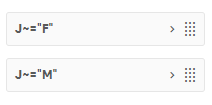
Add conditional formatting
Add one or multiple conditional formatting to the column,
Formula :
The excel Formula of the conditional Formatting,
placeholders:
# – points to the current column
~ points to another column
for example:
#>=0 (this column value bigger than 0)
L~># (L column value bigger than this column value)
Conditional font color: the font color in hex to be applied when the condition is fulfilled.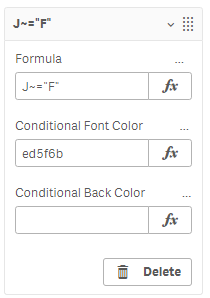
Conditional back color: the background color in hex to be applied when a condition is fulfilled.
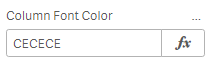
Column Font Color
A custom font color to the column in hex RGB.
example: ff4400.
Column Back Color
A custom background color to the column in hex RGB.
example: ff4400.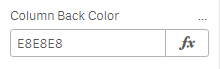
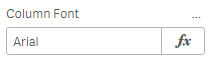
Column Font
A custom font to the column text.
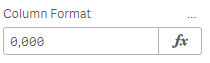
Column format
Set a custom Excel format to the column.
example: #,##0.0, dd-mm-yyyy etc.
Column underline
Underline the column text.![]()
Column bold
Bold the column text.
![]()
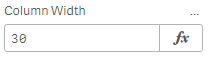
Column width
Set the column width (in points), leave zero for default width.
To hide a column please check the “Hide Column” option.
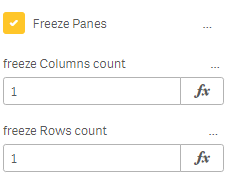
Freeze Panes
Freeze columns count
Number of columns to keep visible on top while the rest of the sheet scrolls
Freeze rows count
Number of rows to keep visible on top while the rest of the sheet scrolls
Values formatting
See how to set the format of the values in the exported excel file (Such as Number/Date/Amount etc.) in the dedicated blog post.
Advanced
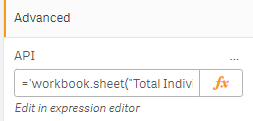
API
Customize your export using Excel JS API.
example:='workbook.sheet("Total Individual Claims").range(15, 1, 15, 1).value("$(=GetFieldSelections([Vehicle Make]))");'
See snippets and examples in the dedicated blog post
Advanced API Capabilities
Discover new functionalities with our updated API, including options to cancel exports and prompt for password setup. These enhanced capabilities provide greater flexibility and control over your export processes. Visit our blog for detailed examples and guidelines.
Disable Size Optimization for Speed
Opt for faster exports by disabling our unique file size optimization feature. This option is ideal for those who prioritize speed in their data management operations, allowing for quicker access to exported files.
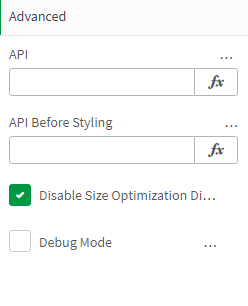
Debug Mode
Send diagnostic data to the developer.
Disable file size optimization
Do not compress the file size, saves export time in large exports.
LogiExport on Qlik Sense Cloud – SaaS
How to install on the cloud infrastructure
- In the Management Console, go to the Extensions section and click Add in the upper right-hand corner.
- You must have tenant admin authorization to finish the process.
In the pop-up, click Browse to select an extension file, or drop a file in the designated area.
Click Upload.
- In the Management Console, go to the Content Security Policy section and Click Add in the upper right-hand corner.
- In the dialog, set the Name to “LogiExport”
- set the Origin to “prod.logsys.co.il”
- check the following Directives: connect-src, object-src, script-src, font-src, style-src.
- Click Add.
- For the “Snap To” feature to work, repeat the steps 4 – 7 for this Origin “cdnjs.cloudflare.com” (this is needed for Font Awsome)
- Now you can use the LogiExport under Extensions panel in the Sheet Editor.